
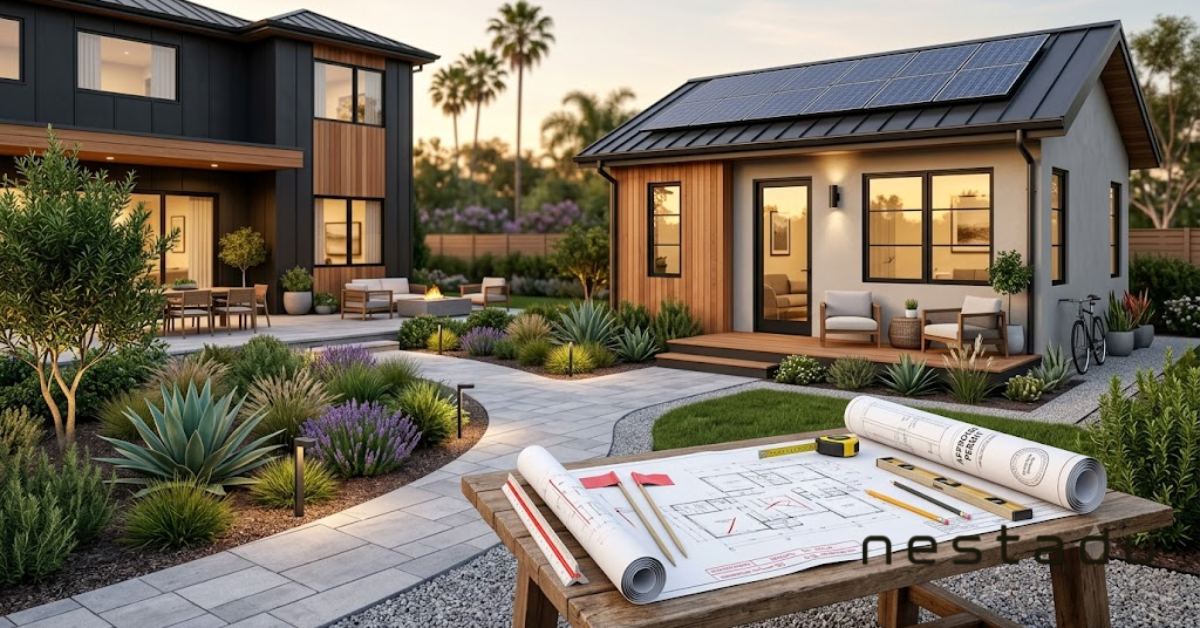
Real ADU projects reveal a pattern that averages hide. The costly mistakes almost always happen before a single wall goes up, in the feasibility, permitting, and contract stages. Homeowners who front-load those decisions finish close to budget. Those who skip them end up paying for the same lesson twice.
Below are the lessons that show up again and again across California ADU builds, and what they mean for your own property.
Why ADU Case Studies Beat Cost Averages
A headline number like “$150,000 for an ADU” is close to useless on its own. The same 600 square foot unit can land anywhere from $110,000 to $280,000 depending on the sewer lateral, the electrical panel, the slope of the yard, and the city reviewing the plans.
Case studies are more useful because they show the decision points. You see where the budget cracked, what the homeowner wished they had known, and which choices actually paid off after move-in.
Lesson 1: Your Site Sets the Budget Before Your Designer Does
The most consistent finding across real projects is that site conditions, not finishes, drive the final number. A homeowner in Sacramento who ran a feasibility check first stayed within roughly 8% of the original estimate. Another who designed first and investigated later discovered at plan check that the main panel could not carry the load, adding five figures mid-project.
These are the site items that most often blow a budget:
- Sewer lateral capacity. An older line may need replacement or an upsize to serve a second dwelling.
- Electrical panel. Many homes from the 1950s to 1970s cannot support an ADU without a service upgrade.
- Setbacks and easements. A utility easement running through the backyard can shrink the buildable footprint overnight.
- Grade and soil. Sloped lots and expansive soils change the foundation spec and the price.
- Fire access and sprinkler triggers. Distance from the street or the main house can trigger requirements that add cost.
At Nestadu, this is why the first conversation is about the lot, not the layout.
Lesson 2: The Permit Clock Only Starts When You Are Actually Ready
California law requires cities to act on a complete ADU application within 60 days. The word doing the work there is complete. A submittal missing a Title 24 energy report or a proper site plan simply resets the process.
Projects that got through in one or two rounds shared a few habits:
- They pulled the city’s specific ADU checklist before drafting, not after.
- They confirmed utility connection requirements with the water and sewer agencies early.
- They used a builder who submits regularly in that jurisdiction and knows the reviewer’s expectations.
- They budgeted for the school fees, impact fees, and plan check fees upfront instead of being surprised by them.
The homeowners who treated permitting as a formality are the ones who lost three to six months.
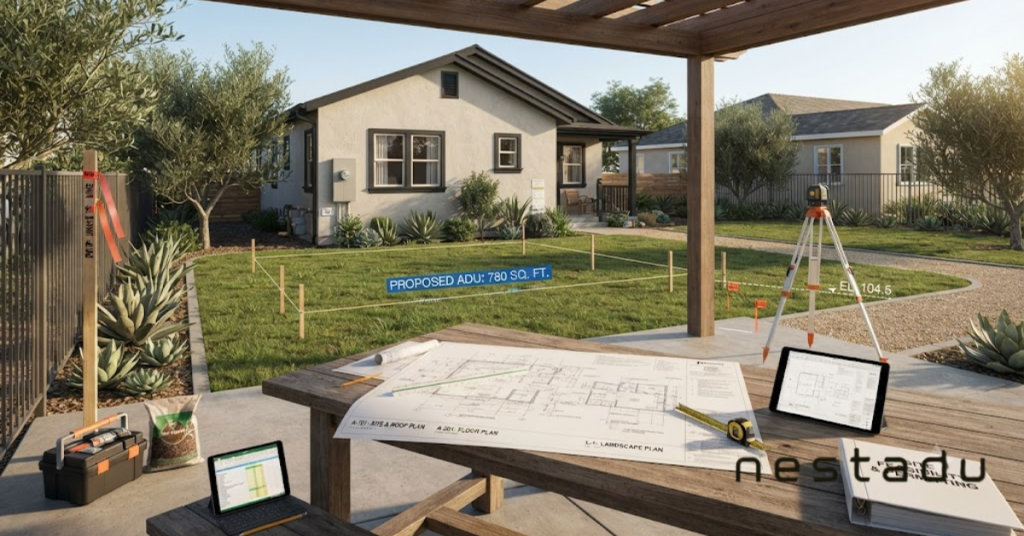
Lesson 3: The Cheapest Bid Rarely Stays the Cheapest
This one shows up in almost every honest case study. A low bid usually wins by leaving things out, and those things come back as change orders once demolition has already started and you have no negotiating room.
Watch for these signals in an ADU quote:
- Large “allowances” for flooring, cabinets, or fixtures instead of real selected products
- No line item for utility connections or panel upgrades
- Vague scope language like “site work as needed”
- No stated contingency, or a contingency under 10%
- A schedule with no milestone dates tied to payments
A quote that is boring, specific, and slightly higher is usually the honest one. Nestadu prices this way on purpose, because a clear number at the start is worth more to a homeowner than a low number that moves.
Lesson 4: Layout Matters More Than Square Footage for Rental Income
Two 500 square foot units in the same neighborhood can rent hundreds of dollars apart. The difference is almost never the size. It is privacy, access, and how the unit actually lives.
Across rental-focused projects, the units that performed best and sat vacant the least tended to have:
- A private entrance that does not cross the main house’s yard or patio
- In-unit laundry rather than shared access to the main home
- A dedicated parking space or reliable street parking
- Real sound and visual separation from the primary residence
- A full kitchen, not a kitchenette
Detached backyard cottages generally outperformed attached conversions on both rent and tenant retention, mostly because separation is what renters are paying for.
Lesson 5: Family Units and Rental Units Are Not the Same Project
An in-law suite built for aging parents has different priorities than a rental. Homeowners who built for family and then retrofitted for accessibility later paid far more than those who built it in from the start.
If the unit is for a parent or a family member, build these in now:
- Single-level, step-free entry from the driveway or path
- Wider doorways and a curbless shower
- Blocking in the bathroom walls for future grab bars
- A short, well-lit path between the ADU and the main house
- Simple, low-maintenance systems and finishes
None of these cost much during framing. All of them are expensive to add afterward.
Lesson 6: Lock Your Financing Before You Lock Your Design
A recurring failure pattern is designing a unit, falling in love with it, and then finding out the financing supports 80% of it. That is when scope gets cut in the wrong places, usually insulation, windows, or the kitchen, which are the exact things that determine rent and comfort.
Homeowners who secured their funding first designed to a real number and did not have to make painful cuts halfway through. Financing terms vary significantly by lender and by your equity position, so treat this as a starting point and speak with a lender directly.
What These Patterns Mean for Your Property
The common thread across every real ADU case study is that the expensive mistakes are made on paper, months before construction. Feasibility, permits, contract clarity, and financing are where projects are won or lost. Construction is just the part where the earlier decisions show up.
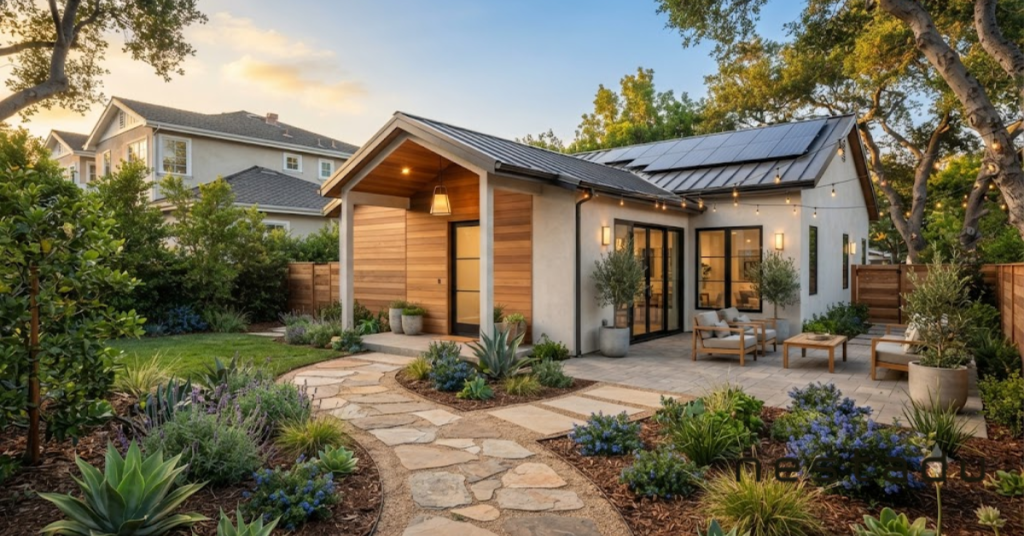
If you are considering an ADU in California, start with the lot and the numbers rather than the floor plan. Nestadu handles feasibility, design, permitting, and construction under one roof, which means the site issues surface early instead of at plan check. Reach out for a consultation and we will tell you what your property can actually support before you spend anything on design.
Frequently Asked Questions
How much does a real ADU cost in California?
Most detached ADU projects fall in a wide range depending on size, site conditions, and city. Utility upgrades, foundation work, and fees move the number far more than finishes do.
How long does an ADU take from start to finish?
Plan for feasibility and design, then permitting, then construction. Permitting is the stage most likely to stretch, and it stretches most when the submittal is incomplete.
What is the single most common ADU mistake?
Skipping feasibility. Almost every budget overrun in a real case study traces back to a site condition that nobody checked early.
Can I convert my garage into an ADU?
Often yes, and it can be cost effective. Just know that garage conversions typically rent below detached units because of reduced privacy and separation.
Do ADUs increase property value?
They can, through both added living area and rental income potential. The actual impact depends on your local market and how an appraiser treats the unit.