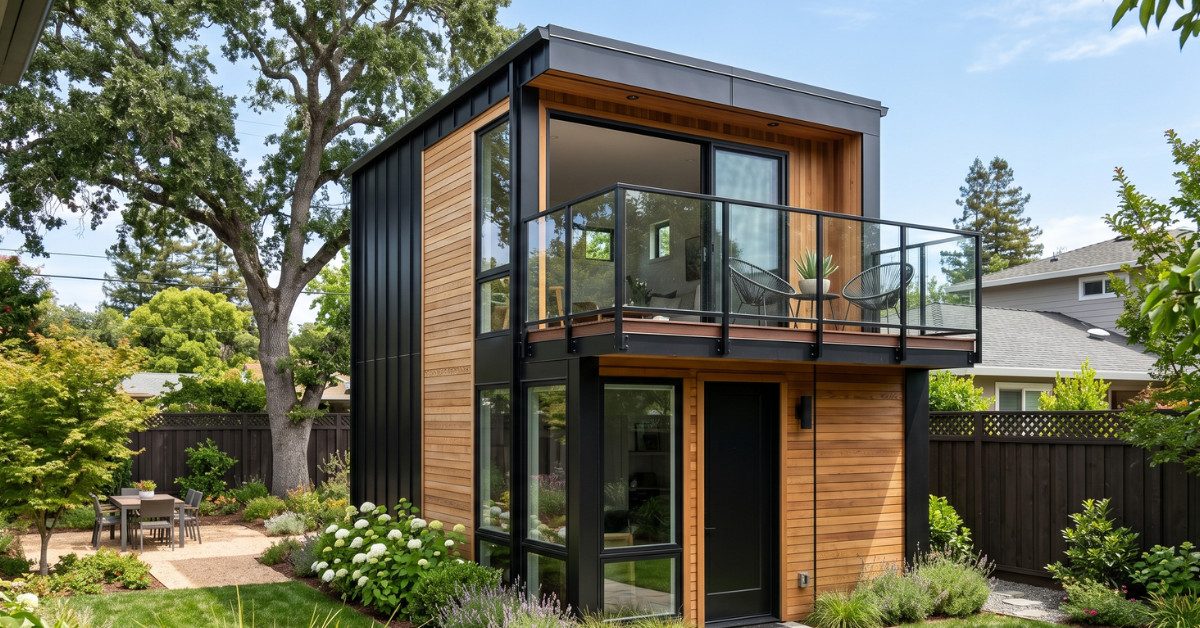
So you’ve decided to add an accessory dwelling unit to your California property. You’ve got the vision, the budget is coming together, and you’re ready to move forward. But then someone mentions the word “inspections,” and suddenly the whole process feels a lot more complicated.
Here’s the thing: inspections are a completely normal part of any ADU build, and knowing what to expect ahead of time takes most of the stress out of it. Most homeowners just want a straight answer to one question: how many inspections does an ADU require?
The Short Answer: Expect 8 to 15 Inspections
Most ADU projects in California go through somewhere between 8 and 15 separate inspections. The exact number depends on a few things, including the type of ADU you’re building, your local jurisdiction, and the complexity of the project.
A simple garage conversion, for example, may need fewer inspections than a full ground-up detached ADU. Similarly, cities like Los Angeles or San Jose may have slightly different requirements than smaller municipalities.
Here at Nestadu, we walk our clients through every single inspection so there are zero surprises along the way.
Why Does an ADU Need So Many Inspections?
Even though ADUs are smaller than a typical house, they contain all the same essential systems. We’re talking about plumbing, electrical wiring, structural framing, HVAC, insulation, and more. Each of these systems needs to be verified by a licensed building inspector before the next phase of construction can move forward.
The California Building Code requires these checkpoints to make sure your ADU is safe, structurally sound, and up to current energy standards. Think of inspections as built-in quality control for your investment.

The Full Breakdown: ADU Inspections Stage by Stage
Let’s walk through the typical inspections you can expect during an ADU build in California.
1. Pre-Construction Meeting
Many jurisdictions, especially in LA County, require a mandatory pre-construction meeting with the building inspector before any work begins. During this meeting, the inspector reviews your approved plans, confirms setback distances, and discusses utility pathways. Nestadu always attends this meeting alongside our clients to make sure everyone is on the same page.
2. Underground Utilities Inspection
Before your foundation goes in, underground utilities need to be installed and inspected. This covers:
- Sewer line connections
- Water supply lines
- Gas piping
- Underground electrical conduit
Nothing gets buried until the inspector gives the green light. This is a critical step because fixing underground issues after the foundation is poured becomes extremely expensive.
3. Foundation Inspection
Once the excavation for footings is complete and all reinforcing steel is in place, the inspector comes back to check the foundation. They’re looking at:
- Footing dimensions and depth
- Rebar placement and spacing
- Hold-down bolts and anchor positions
- Vapor barrier installation (for slab-on-grade)
Your contractor cannot pour any concrete until this inspection is passed.
4. Framing and Shear Wall Inspection
After the concrete cures and framing goes up, the structural framing inspection happens. The inspector checks the framing, shear walls, roof sheathing, and all structural hardware like straps, clips, and hold-downs. This inspection also verifies that fire blocking and draft stopping are properly installed.
This is typically one of the most detailed inspections in the whole process. At Nestadu, our framing crews know exactly what inspectors look for, which keeps projects moving on schedule.
5. Rough Plumbing Inspection
Before walls get closed up, the rough plumbing inspection covers all supply and drain lines installed inside walls and under floors. The inspector checks:
- Pipe sizing and material
- Drain line slope and venting
- Water heater connections
- Fixture rough-in placement
6. Rough Electrical Inspection
At the same stage, the electrical rough-in gets inspected. This includes all wiring, outlet and switch box placement, panel location, and circuit layout. California’s electrical code (CEC) requires all equipment to be installed per manufacturer instructions and current code requirements.

7. Rough Mechanical (HVAC) Inspection
If your ADU has ductwork or a dedicated HVAC system, the mechanical rough-in inspection covers duct installation, equipment placement, and ventilation pathways. Proper HVAC installation is especially important for meeting California’s strict energy efficiency standards under Title 24.
8. Insulation and Energy Inspection
California takes energy efficiency seriously. The insulation inspection verifies that:
- Wall and ceiling insulation meets the required R-values
- Air sealing is properly done
- Title 24 energy compliance documentation matches what’s actually installed
Inspectors need to see the actual insulation materials on-site during this inspection. It can’t just be listed on paper.
9. Drywall (Lath) Inspection
Some jurisdictions require a quick inspection after drywall is hung but before taping and finishing begins. The inspector checks nailing patterns and ensures no framing or rough-in work was disturbed during the drywall installation.
10. Final Inspections (Plumbing, Electrical, Mechanical)
Once finishes are in place, each trade gets a final inspection. These verify that all fixtures, outlets, switches, appliances, and HVAC equipment are properly installed and functioning. Final electrical inspection also includes checking panel labeling, arc-fault breakers, and the service panel.
11. Final Building Inspection and Certificate of Occupancy
The last step is the final building inspection. This is a comprehensive walkthrough where the inspector confirms that everything meets code and matches the approved plans. Once passed, the city issues a Certificate of Occupancy (CofO), which means your ADU is officially approved for use.
Worth noting: under California law, a CofO for an ADU generally cannot be issued until the primary dwelling also has one. However, recent legislation (AB 462) created an exception for disaster-affected areas where the primary home was substantially damaged.
Do Different ADU Types Require Different Inspections?
Yes, and this is where things vary quite a bit.
Detached ADUs (new construction) go through the full list of inspections described above. Since everything is built from scratch, every system needs to be individually verified.
Garage conversions may skip certain inspections like foundation and underground utilities if the existing slab and connections are reused. However, they often require additional checks for firewall separation and structural upgrades to the existing structure.
Attached ADUs fall somewhere in between, depending on whether new foundation work is needed and how the unit connects to the main home’s systems.
Nestadu designs each project based on the specific ADU type so our clients know upfront exactly which inspections apply to their build.

What Happens If an Inspection Fails?
A failed inspection doesn’t mean your project is in trouble. It simply means something needs to be corrected before the inspector can approve that phase. Common reasons for failed inspections include:
- Incorrect nailing patterns on shear walls
- Missing or improperly installed hardware
- Plumbing or electrical work that doesn’t match approved plans
- Insulation that doesn’t meet the specified R-value
The contractor makes the corrections and schedules a re-inspection. While this can add a few days to your timeline, it’s a normal part of the construction process. Experienced ADU builders like Nestadu rarely encounter failed inspections because our crews follow approved plans to the letter.
How Nestadu Makes Inspections Stress-Free
At Nestadu, we handle every aspect of the inspection process for our clients. That includes scheduling each inspection with the local building department, preparing the site before the inspector arrives, and being present during every single visit.
Our team has built ADUs across California and knows what each jurisdiction expects. We make sure nothing is covered up before the inspector sees it, and we keep homeowners informed at every stage.
Building an ADU involves a lot of moving parts, but inspections don’t have to be the stressful part. When you work with an experienced builder, inspections become just another checkpoint on the path to your finished ADU.
Ready to Build Your ADU in California?
If you’re thinking about adding an accessory dwelling unit to your property, Nestadu is here to guide you through every step, from design and permitting to the very last inspection. Contact us today for a free consultation and let’s turn your backyard into something special.