Building an accessory dwelling unit on your California property is an exciting investment. But before you finalize your floor plans or choose finishes, there’s a critical piece of infrastructure that deserves your attention: the electrical system.
Getting your electric panel and service upgrade right from the start can save you thousands of dollars and prevent major construction delays.
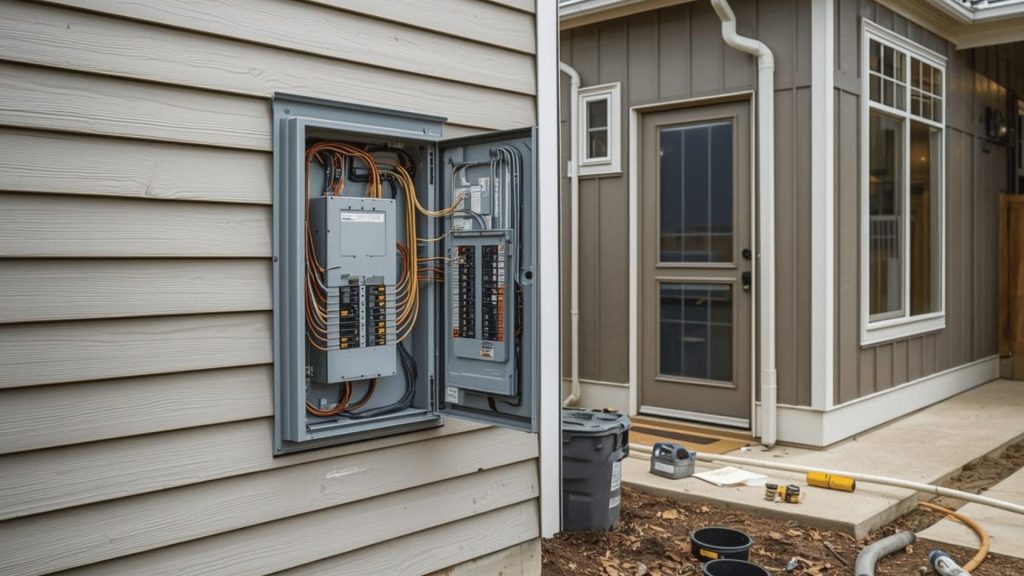
ADUs Electric Panels
At Nestadu, we’ve guided countless homeowners through the ADU building process. One of the most common oversights we see is underestimating electrical requirements. Your ADU isn’t just an extra room. It’s a complete living space that needs proper power capacity to function safely and efficiently.
Why Electric Panels Matter for Your ADU
Your ADU needs to operate independently with its own heating, cooling, appliances, and lighting. This means significant electrical demand that your existing system might not handle. California building codes require specific electrical standards for accessory dwelling units, and meeting these requirements isn’t optional.
Many older California homes run on 100-amp electrical service. While that might have worked fine for decades, adding an ADU often pushes your system beyond its safe capacity. The standard rule is that your total electrical load shouldn’t exceed 80% of your service rating.
Signs your property needs attention:
- Circuit breakers trip frequently in your main house
- Lights dim when major appliances start running
- Your main panel has no space for additional circuits
- The existing service is 100 amps or lower
- You’re planning electric heating or cooking in the ADU

Understanding Your Panel Options
When powering an ADU, you have two main choices: install a subpanel connected to your main house or create a completely separate electrical service. Each option has specific advantages depending on your situation.
A subpanel draws power from your existing main panel. This works well when your current service has adequate capacity and you’re building an attached or small ADU. The installation typically costs less and involves simpler permitting.
Subpanels work best when:
- Your main service is 200 amps or higher
- The ADU is attached or very close to the main house
- You don’t need separate metering for rental purposes
- Your existing panel has available capacity
Separate service with its own meter makes more sense for detached ADUs or rental situations. This setup allows tenants to pay their own utilities directly. However, it requires coordination with your utility company and additional permitting steps. Nestadu handles these logistics as part of our comprehensive ADU construction service.
Calculating Your ADU’s Electrical Needs
Determining the right panel size depends on what you’re powering inside your ADU. A small studio with gas appliances needs far less capacity than a two-bedroom unit with electric heat, air conditioning, and a full kitchen.
California requires dedicated circuits for major appliances. Kitchens need multiple 20-amp circuits for countertop outlets. Bathrooms require GFCI-protected circuits. Living areas need AFCI protection to prevent electrical fires.
Typical requirements for a standard ADU:
- Kitchen circuits: 20-amp for outlets, dedicated lines for refrigerator and microwave
- Bathroom: 20-amp GFCI circuit
- Laundry: 30-amp for electric dryer, separate circuit for washer
- HVAC system: Sized to specific equipment requirements
- Water heater: 30-40 amp circuit if electric
- General outlets and lighting: Multiple 15-amp circuits
The Nestadu team works with licensed electricians during the design phase to calculate exact requirements. This prevents the common mistake of undersizing your panel, which leads to expensive upgrades later.
When Service Upgrades Become Necessary
Most homes built before 1980 need service upgrades when adding an ADU. The process involves your utility company installing new equipment, typically upgrading from 100-amp to 200-amp service. This provides enough capacity for both your main house and the new accessory dwelling unit.
Service upgrades require permits and inspections. The utility company must disconnect and reconnect your power, which means planning for a brief outage. The entire process typically adds four to six weeks to your construction timeline.
The upgrade process includes:
- Load calculation to determine required capacity
- Permit applications with your local building department
- Utility company coordination and scheduling
- Installation of new service equipment
- Multiple inspections before final approval
Nestadu manages this entire process so you don’t have to coordinate between multiple parties. Our experience with California ADU projects means we know exactly what utilities and inspectors require.

Real Costs for Electrical Work
Budget planning for electrical work depends on your specific needs. A basic subpanel installation typically runs between $1,500 and $3,000. Full service upgrades from 100-amp to 200-amp cost $3,000 to $5,000, not including utility fees.
Detached ADUs require running new electrical lines from your main house or service point. Underground installation adds $2,000 to $4,000 depending on distance and site conditions. Difficult terrain or concrete removal increases costs further.
Utility company connection fees vary by location but often range from several hundred to over $2,000. These aren’t negotiable and must be paid before your ADU receives power. Getting accurate cost estimates early prevents budget surprises during construction.
Avoiding Expensive Mistakes
The biggest error homeowners make is undersizing their electrical panel to save money upfront. Installing a 60-amp panel when you actually need 100 amps creates problems immediately. You won’t be able to run your air conditioner and oven simultaneously without tripping breakers.
Another common mistake is ignoring future needs. Electric vehicle charging is becoming standard, and adding capacity later costs far more than including it during initial construction. Smart planning during the ADU design phase saves money long-term.
Critical requirements that need professional handling:
- All work must be performed by licensed electricians
- Permits are mandatory for panels and service upgrades
- Multiple inspections occur throughout the process
- Code violations prevent certificate of occupancy
- DIY electrical work creates liability and insurance issues
Working With Experienced Professionals
Quality ADU construction requires coordination between builders, electricians, and inspectors. Licensed electricians understand California codes, carry proper insurance, and guarantee their work meets safety standards. They navigate the permit process efficiently and know what inspectors expect.
At Nestadu, we manage these relationships throughout your project. Our team coordinates electricians, handles permit applications, and schedules inspections at the right times. This removes the stress of managing multiple contractors while ensuring everything meets code requirements.
The inspection process protects your investment. Inspectors verify that your electrical system is safe, properly sized, and correctly installed. This protects you, future occupants, and maintains your property value over time.

Building Your ADU the Right Way
Getting electrical infrastructure right is fundamental to successful ADU construction. At Nestadu, we’ve built our reputation on attention to details that other builders might overlook. Our comprehensive approach covers everything from initial electrical planning through final inspection and certificate of occupancy.
Ready to start your ADU project with California’s leading accessory dwelling unit builder? Contact Nestadu today for a consultation. We’ll guide you through electrical requirements, permitting, and every aspect of creating a beautiful, functional ADU that adds lasting value to your property.


